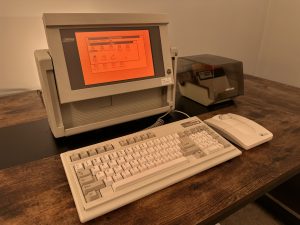
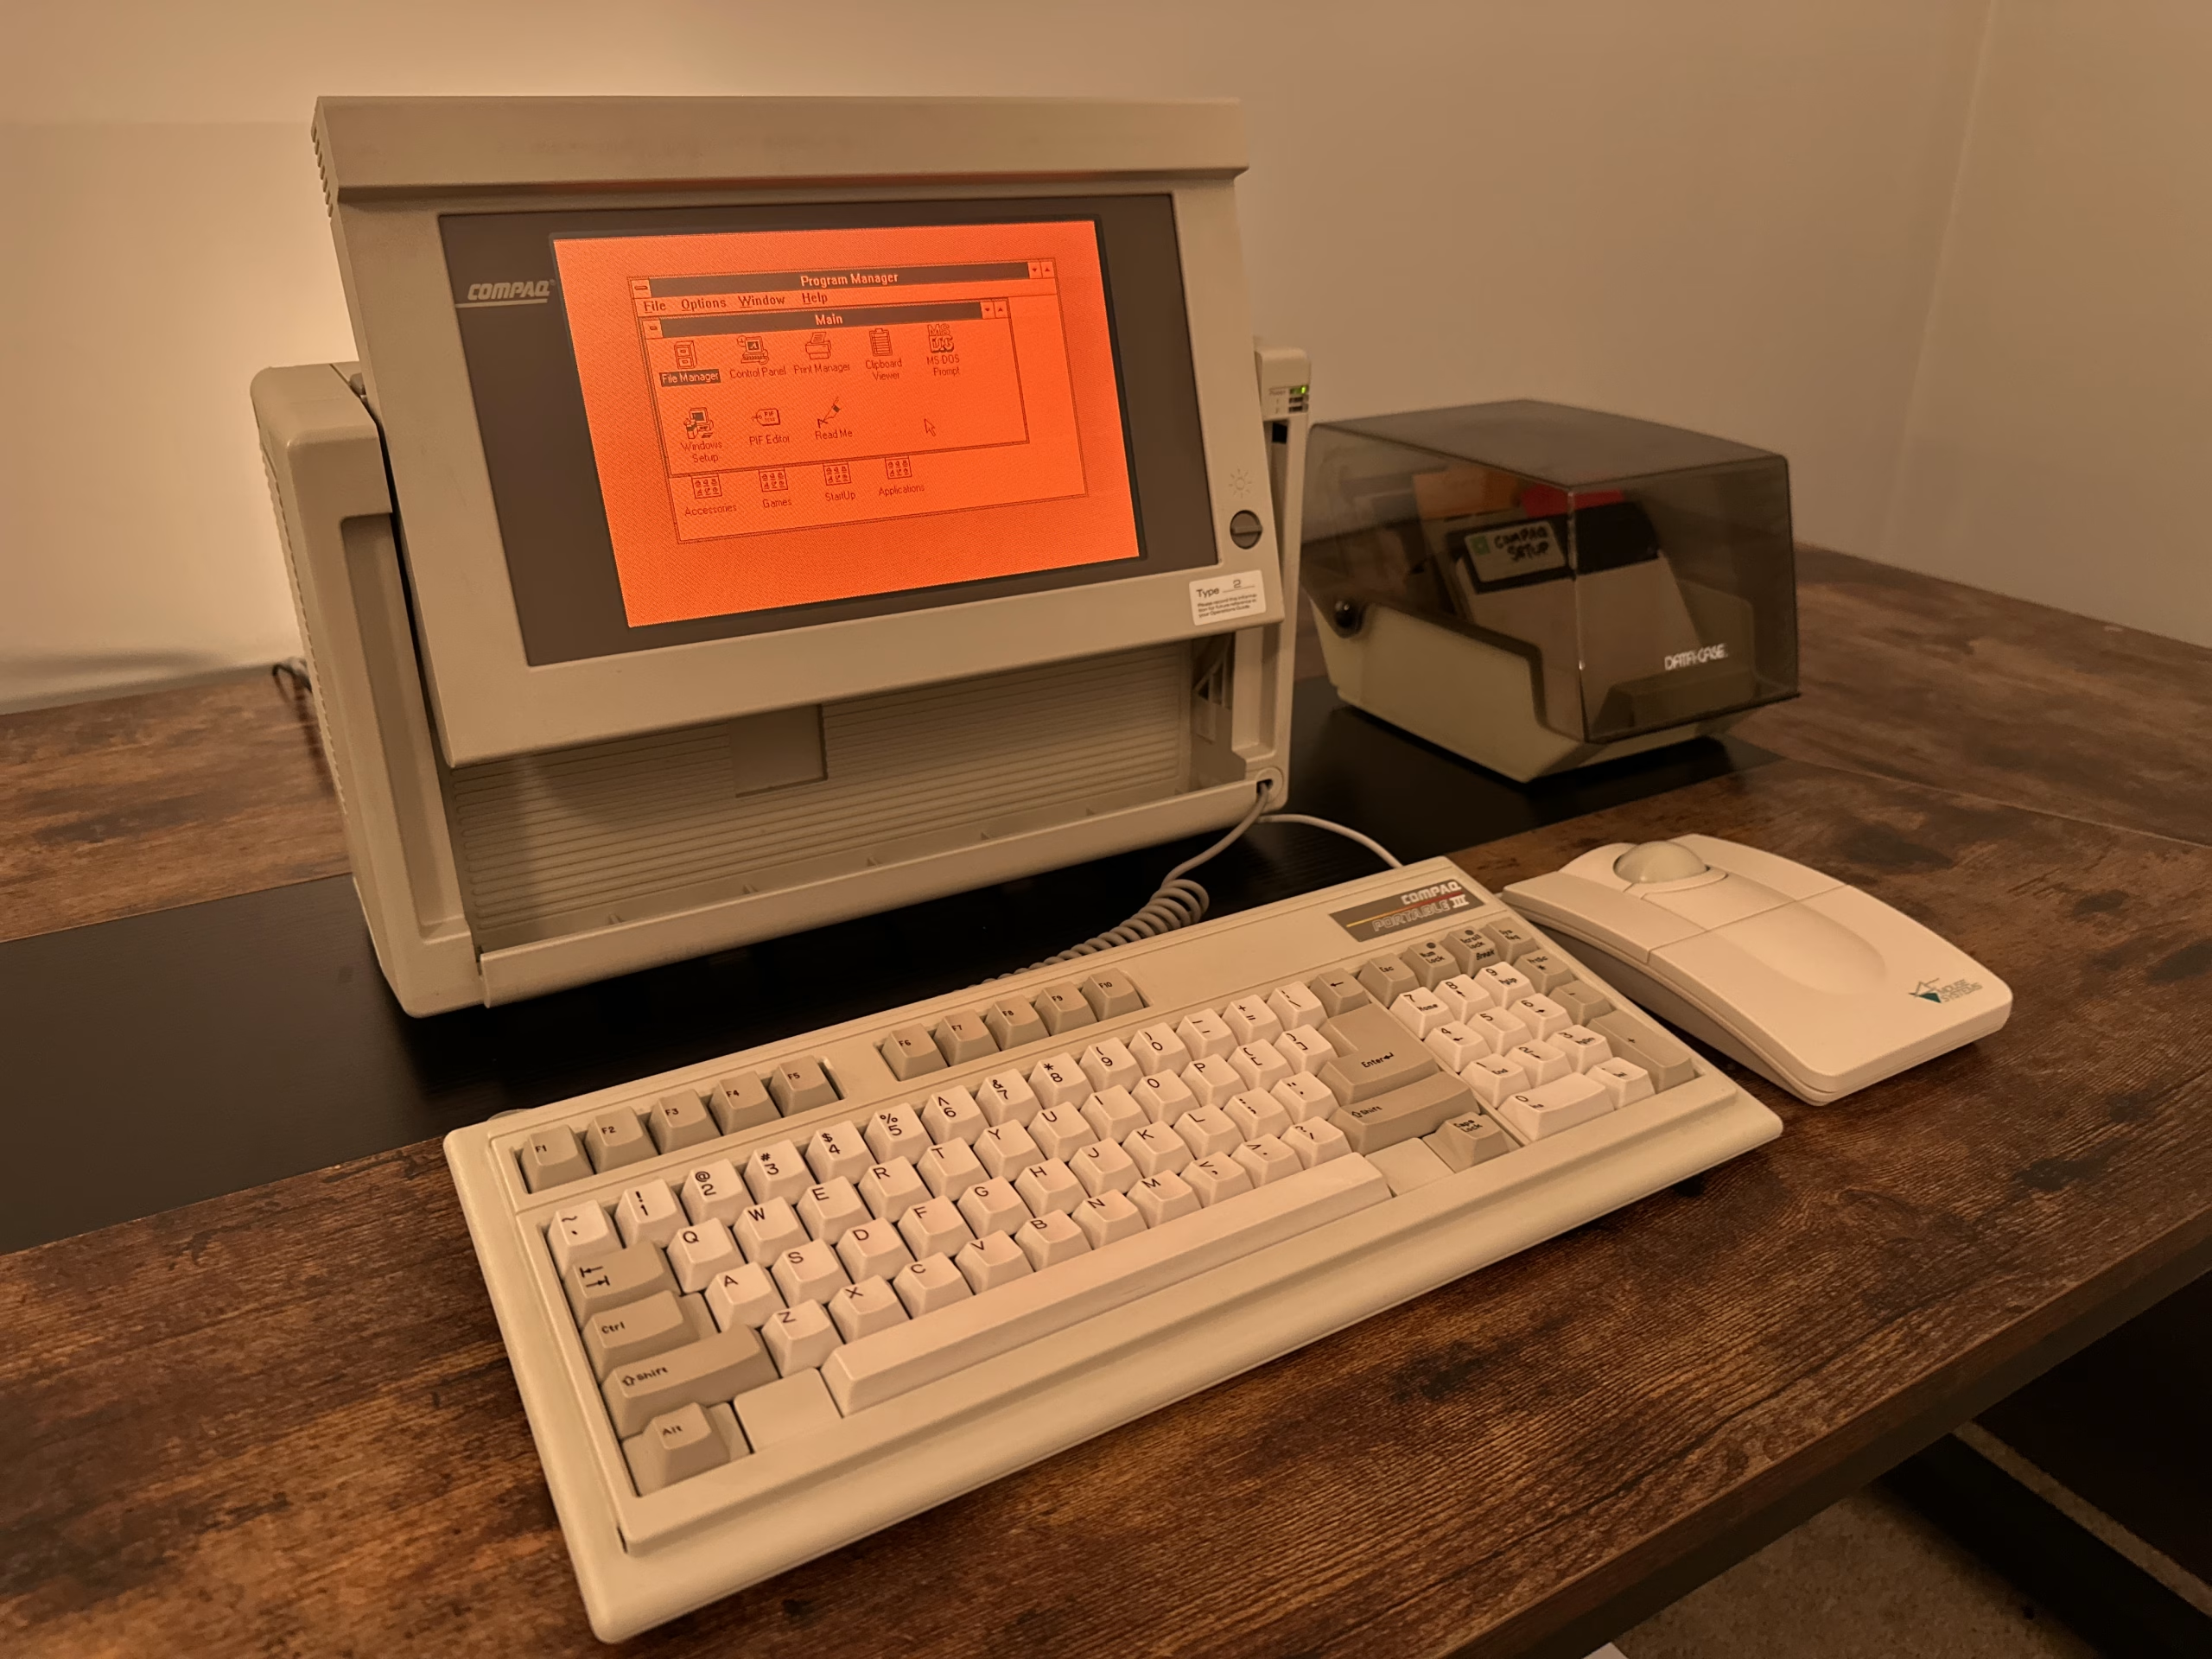
The Compaq Portable III, launched in 1987, was a remarkable step forward in portable computing, combining power and portability in a compact design for its time. Powered by a 12 MHz Intel 80286 processor, it offered a 10-inch amber gas-plasma display that could swivel for easier reading—a unique feature that set it apart. Priced from $3,999, with options for a 20 or 40 MB hard drive, the Portable III was marketed as a lighter and more compact alternative to earlier portable PCs. While it lacked internal expansion ports, an optional external expansion unit provided two ISA slots, adding flexibility for users with different needs. This machine didn’t run on batteries but was designed to be sturdy and versatile for professionals on the go, supporting a proprietary 640 x 400 graphics mode compatible with Windows 2.11.
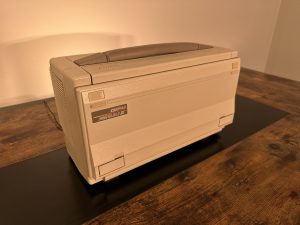
One of our community members recently shared a special project he has been working on for 2 years! After admiring the photos that he shared of his handiwork (see below!), we decided to catch up with him for more details.
To get an inside look at this classic piece of computing history and the restoration process, we sat down with Salvorite, our community member & a technology enthusiast who recently completed a full restoration of a Compaq Portable III. In our conversation, we talked about insights on the restoration process, the challenges faced, and what it’s like to bring one of these iconic machines back to life. It is a fascinating glimpse into what it takes to revive a piece of 1980s technology for today.
Interview
Dirt Nerds & Radios (DNR): What initially inspired you to take on the restoration process?
Salvorite (S): I found this old computer in a sorry state hidden in the corner of an antique store. When I saw it, I knew I needed to restore it. I don’t know if there was one specific thing that inspired me at the time. I’ve always been fascinated by early home computers. I was a little kid when this computer originally came out and while I used computers like this, I wasn’t old enough to appreciate them. This computer is also a particularly interesting example, being an early portable computer.
DNR: What is it like to work on technology from the 80’s versus today’s technology?
S: It’s a mixed bag, for sure. There’s a wonderful simplicity to it that I really appreciate. The software is lean and straightforward (for the most part). There’s no internet, updates, subscriptions, or accounts to deal with. Compared to modern technology there’s a kind of purity to it.
On the flip side, hardware standards were kind of still the wild west at this point. There were some standards, but there were also a lot of manufacturers doing their own thing. Many technologies were still being figured out and, in some cases, invented.
For example, these Compaq systems had IDE (aka. PATA) connectors for the hard drive because, in 1986, Compaq directly reached out to Western Digital to help develop it. 8 years later in 1994 IDE ended up becoming an industry standard, but at the time it was Compaq searching for an ideal solution for storage connectivity.
DNR: Were there any new skills you learned to be able to work on this device?
S: I was able to improve on several skills while repairing this system. The area where I believe I learned the most is effectively using a multimeter and oscilloscope to trace out complex circuit boards and find where faults are occurring. This computer’s motherboard was in dire shape electrically and required a lot of physical fault tracing.
Any time I take on a project involving soldering, I always improve in that area as well. Learning new techniques for new challenges.
It also taught me I need a better desoldering tool.
DNR: What were some of the biggest challenges you faced during the process? How did you overcome them?
S: The biggest challenges were finding parts and finding the faults.
As for the first challenge, finding parts, there is a sizable community around the Compaq Portable line of computers. Some of these community members create replacement parts. Without this community support the repair would have been significantly more difficult.
When it came to finding the faults, this was an iterative process. The faults were mostly electrical, so it came down to tracing each fault down, repairing it, and continuing to the next one. Each repair unearthed a new fault down the line.
DNR: Did you have to do any specific restoration work with the display? Technologies like gas-plasma aren’t something many are familiar with.
S: Thankfully the plasma display was mostly fine. These Compaq Portable III systems can develop two main issues with the display.
- The small traces on the edge of the display can degrade or corrode causing vertical lines to appear on the display.
- The display needs 200 volts DC to operate. The 200v output from the power supply can degrade with age.
The first of these two issues is game over. It’s nearly impossible to fix unfortunately. The second issue is usually fixable with some power supply repair. I was lucky that my system had neither of these issues. The only trouble with the display is that there was dirt and debris that had gotten under the top layer. I was able to remove this layer and clean all that out.
DNR: Did the machine power up for the first time when you were done? Did everything work as expected?
S: Absolutely not. Due to the iterative process of the repair, I likely powered the system up hundreds of times before it started showing signs of life. Even when it started to function, it had serious issues that each had to be fixed.
There were many times where I had thought I fixed everything, just to turn on the system and find a new fault.
DNR: Do you have any advice for someone thinking about trying something like this?
S: I have a whole list of advice!
- Make use of community resources. For whatever system you decide to restore there will likely be a thriving community. Keep bookmarks of all the resources you find for reference later.
- Check Etsy and similar sites for community made replacement parts.
- Stay patient with the hardware. Old hardware can act strangely. Even very small electrical faults can cause huge issues with scary looking error messages. If you find yourself getting frustrated, step away and take a break. I learned the hard way that working on hardware when I’m frustrated can lead to accidentally damaging sensitive components.
- Make sure to invest in a nice soldering iron. Get some lead solder and a good supply of flux and solder wick.
- Keep a variety of resistors and capacitors (both electrolytic and ceramic) handy. You’ll very likely need to replace some of these. You can buy packs of these components on the cheap with a range of values you may need for repair projects.
- You can get a handheld 2-in-1 oscilloscope and multimeter for around $90 on Amazon. If you don’t have either of these, it’s a good buy. These “cheap” oscilloscopes work much better than you might expect.
DNR: What is your favorite feature or aspect of the Compaq Portable III now that you’ve restored it?
S: That has to be the gas-plasma display. It’s beautiful. It’s super sharp and the amber glow is almost hypnotizing. It looks so different than any other kind of computer display. I sometimes find myself just staring at it, enjoying the oddity of it.
Photos


Conclusion
We’d like to extend a special thanks to Salvorite for sharing this project with us. This Compaq Portable III restoration is amazing, nice work!
It’s amazing to see some of the stuff our community members are working on. Projects like this are a true showcase of skill & craftsmanship in the technology field, and we’re glad anytime a community member shares them with us. You can find us discussing projects like this and more on our Discord.

